

Hello! This is another pattern blog post again.
There's actually a book describing how to make a variety of chibi size dogs. You can refer to this book on issuu if you are interested in it. I actually tried to do according to the pattern in that book but it's in Japanese so I'm not really sure how to assemble all the stuffs or even if I am doing it in the correct way.... So I ended up making quite a wonky product. I also found this Inugurumi Etsy shop selling really really really cute crocheted dogs too! He made it exactly like the ones I saw in the pictures. Perfect!
Since I kinda failed mine, so I decided to free-style it.
I'm not sure if it looks like that particular breed but I was aiming for a baby dog poodle


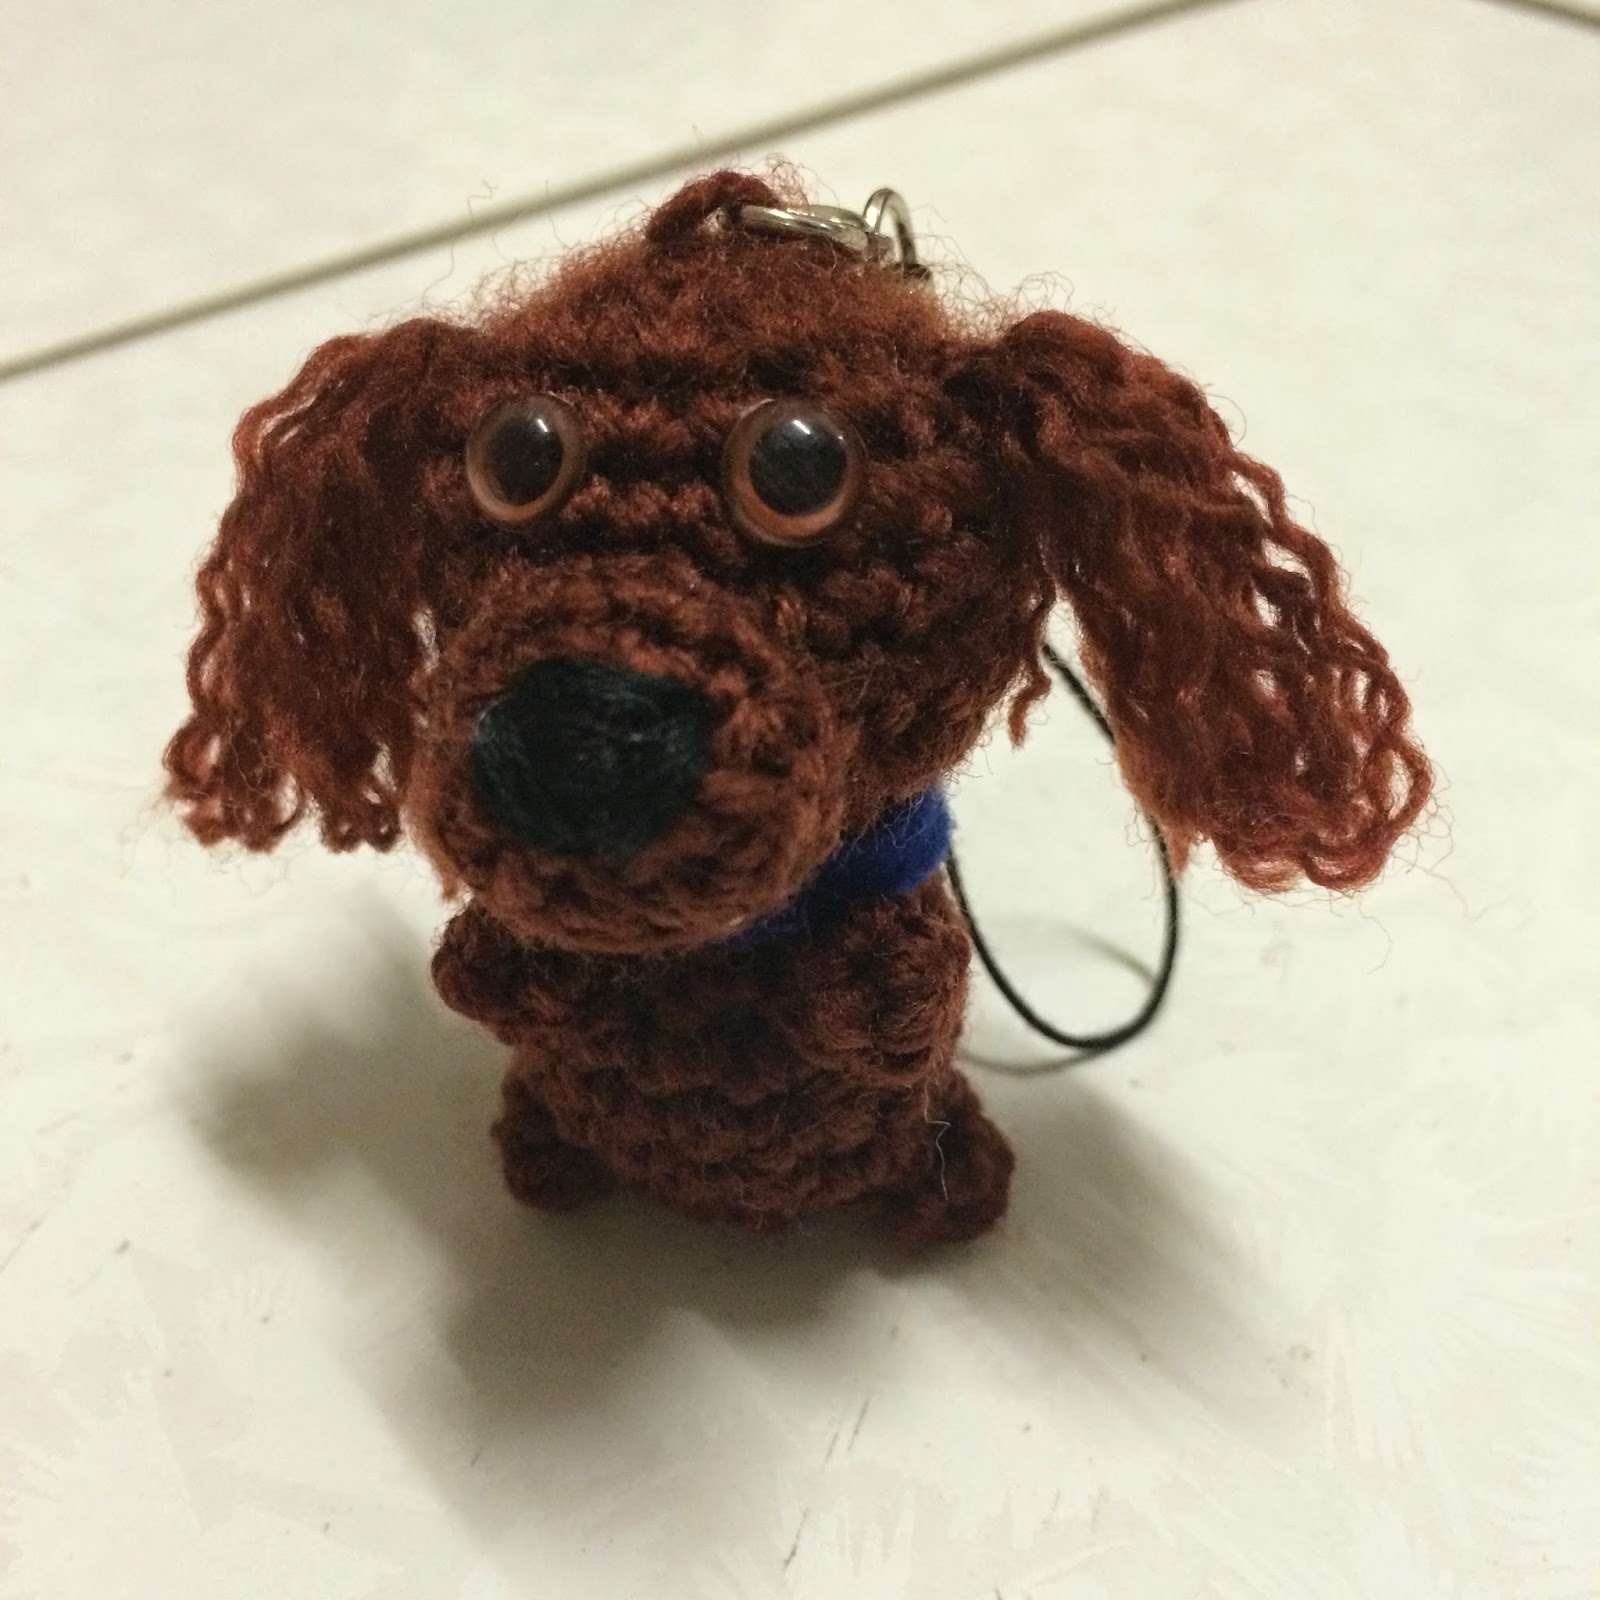


So here is my version of it!
Mini Puppy/Dog Pattern
Materials
- Yarns - Brown Minlon acrylic yarn (I'm not sure what weight this is but I'm guessing it's Sport weight)
- Felt for collar
- 3.0mm crochet hook
- Fabric glue
- Tapestry needle
- Black embroidery thread and needle
ch - chain
sc - single crochet
inc - increase
dec - decrease
* or * * - repeat following pattern until row ends
* * xA - repeat instr inside for A times
MR - Magic ring
BLO - Back loop only
F/O - finish off
Some basic explanation for the pattern I have written
"inc" means sc x2 in the next sc
"inc by 3" means sc x3 in the next sc
"2sc" means sc x1 in the next sc, repeat 2x
"2inc" means sc x2 in the next sc, repeat 2x
Parts
**Remember to stuff the parts accordingly as you work the parts!
Body
Rnd1: 6sc in MR (6)
Rnd2: *inc (12)
Rnd3: *sc, inc* (18)
Rnd4: *sc (18)
Rnd5: *4sc, dec* (15)
Rnd6: *sc (15)
Rnd7: *3sc, dec* (12)
Rnd8: *2sc, dec* (9)
F/O and leave a long tail for sewing.
Head
Rnd1: 6sc in MR (6)
Rnd2: *inc (12)
Rnd3: *sc, inc* (18)
Rnd4: *2sc, inc* (24)
Rnd5: *sc (24)
Rnd6: *2sc, dec* (18)
Rnd7: *sc (18)
Rnd8: *4sc, dec* (15)
Rnd9: *3sc, dec* (12)
Rnd10: *dec (6)
F/O and sew to close the hole.
Nose
Rnd1: 4ch, 2sc in the second ch from hook, 3sc in the next ch, 2sc in the next ch, sc along the other side of the ch stitches. (10)
Rnd2: Working in BLO. *sc (10)
Rnd3: *sc (10)
F/O and leave a long tail for sewing.
Legs
Rnd1: 4sc in MR (4)
Rnd2: *sc (4)
F/O and leave a long tail for sewing.
Tail
Rnd1: 4sc in MR (4)
Rnd2-3: *sc (4)
F/O and leave a long tail for sewing.
Ears
For the ears, I cut off a long piece of yarn and separated the yarn out, looped them between my fingers then tied them together with another piece of yarn, there's no need to separate the yarn we used for tying since we're going to sew them in on the head.
As for the length, I looped the yarn around two of my fingers for 5 times. You can looped as many times as you want.
Start assembling and there you go!
I'm not writing any instructions on how you should put them together but I think it's pretty simple. A piece of advice, you can pin the parts together first before you sew them on so you can estimate better. Believe me, you'll have an easier time if you have some pins on your hand. Use them!
As for the nose, I just use black embroidery thread and sew on a triangle patch.
For the collar, just cut a long thin felt piece and wrap around the neck. Secure with some fabric glue.
As for the nose, I just use black embroidery thread and sew on a triangle patch.
For the collar, just cut a long thin felt piece and wrap around the neck. Secure with some fabric glue.

Happy crocheting!
If you like what I do, please subscribe to my blog and follow me on Instagram! 
I am on these platforms as well!
So cute! What size eyes did you use?
ReplyDeleteHi sandy! Thank you. 😊 I normally use 5mm washer eyes. Hope this helps
Delete